 Your website has structures that are important if you chase good ranking in search engine results. Part of those are the robots.txt file and sitemap. If you are not familiar or have not created those, read below.
Robots.txt
Robots.txt is an integral part of a website as it moderates the behavior of search engine bots by dictating their access limitation and telling the forbidden pages. It serves as a guide to the bots on what are the pages they are allowed to crawl and what are those that have to be spared. To create it, follow these steps:
1. Check if your Content Management System (CMS) has an option to add a plugin or application that generates or creates a robots.txt. If there is a way, I suggest you to utilize it so all you have to mind is optimization.
2. If there is no way on the first step, go to your website’s back-end control (server) panel or File Transfer Protocol (FTP) access.
3. Find your website root, which is usually named as public_html folder though it depends on your website setup.
4. Create a new file and choose txt as an extension.
5. After creating a new file, name it as robots.txt.
6. Start writing in robots.txt. You have to take note of the following:
User-agent: *
Disallow: /admin
Above is the most basic skeleton of a robots.txt file. “User-agent” refers to the name of the bot you will be pointing out. Putting (*) means it applies to all bots. The “Disallow” refers to the folders you don’t want to be visited or crawled by the bots.
If you’re wondering why there is no “Allow” value, it’s because it’s the default. Until you don’t classify a page under the “Disallow” part, all pages are automatically will be treated as areas where bots are free to access.
Crawl-delay: 120
That will limit how fast a bot crawls a website. This can be unnecessary for some but if your website is dynamic or you update it frequently, this is useful.
7. After you have written your robots.txt, you will have to save it [on your website root].
8. Test it by visiting the file on public access. Try to browse domainname.com/robots.txt. Just replace the domainname.com with your own.
Sitemap
Another integral part of a website is the sitemap. It serves as a guide to all visitors. This is another tool in order for the users to navigate a website easily. Sitemap has two types: the HTML and XML.
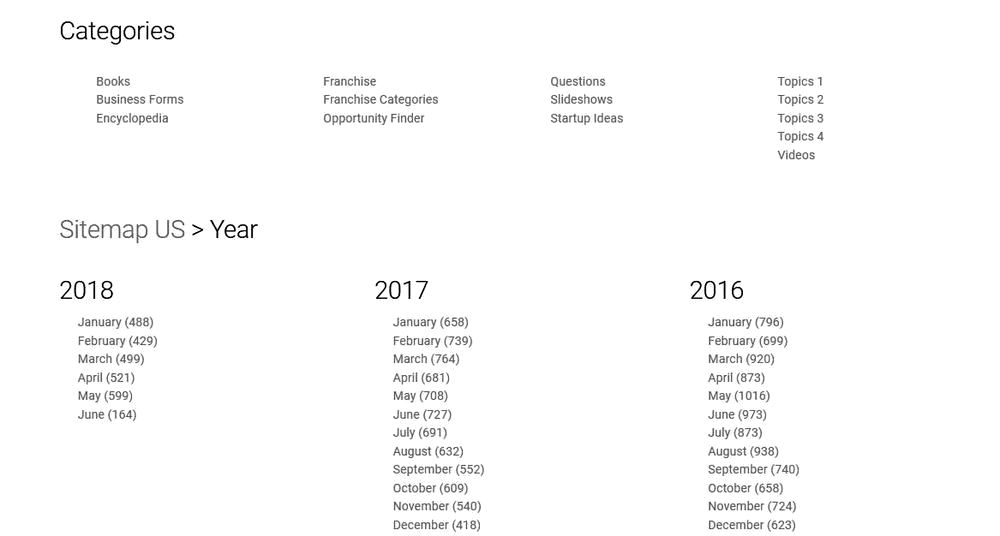
Sitemap HTML is an HTML-built page dedicated to human visitors. Its link is usually located at the footer part of a website and showcases all the public directories in a single page. Here are the steps to create it:
1. Just like creating a robots.txt, check if your CMS has a way to add a plugin or application that automatically creates a Sitemap HTML. If there’s such, utilize the option.
2. If there is no way, create a new page on your website.
3. List all of your public folders, its subfolders and subitems, and have them all organized in a single page. Sample is below.
4. When you’re done, name the page you have created as “sitemap” and make sure its URL is also the same.
5. Create a link of the sitemap at the footer of the website. Make sure the link is visible to all pages of the website.
6. Test it by visiting the file on public access. Try to browse domainname.com/sitemap. Just replace the domainname.com with your own.
On the other hand, sitemap XML is the one that has been built for search engine bots. This should be bot-friendly and has all the details that a crawler needs to properly recognize the structure of a website. To create one, steps are below.
1. Once again, if your CMS has a method of adding a plugin or application that generates Sitemap XML, utilize it.
2. If none, you may use a sitemap XML generator and download the file it created. After downloading, upload it in your website root directory located at the control (server) panel or FTP access. And you’re done.
3. If you prefer manual creation, go to your back-end control (server) panel or FTP access.
4. Create an XML file and begin writing on it. Kindly take note of the following:
Sitemap XML requires tags in order for it to work. Below are the tags you have to use.

After reviewing the tags, you may now create your own sitemap XML. You may check the sample below.

For more information, check out Sitemaps.org.
5. After creating Sitemap XML, save it and make sure it is located at your website root directory.
6. Test it by visiting the file on public access. Try to browse domainname.com/sitemap.xml. Just replace the domainname.com with your own.
Robots.txt and sitemap are both helpful in improving a website’s ranking in search engines. Creating them will not just complement the structure of a website but will [also] provide a good user experience.